8 Tips for Organizing Montessori Practical Life Supplies
The short version: organize Montessori practical life supplies by activity, not by object type — one tray per work, holding everything that work needs and nothing else, stored on a low shelf the child can reach, with the messy consumables (water, beans, polish) portioned small so spills stay survivable. The goal isn’t a pretty cabinet; it’s that a child can start, do, and clean up a real activity without asking you for anything. This site ran a version of this post in its first life; here are the eight tips as I actually run them now, two kids and one normal-sized kitchen later.
1. Organize by activity, not by category
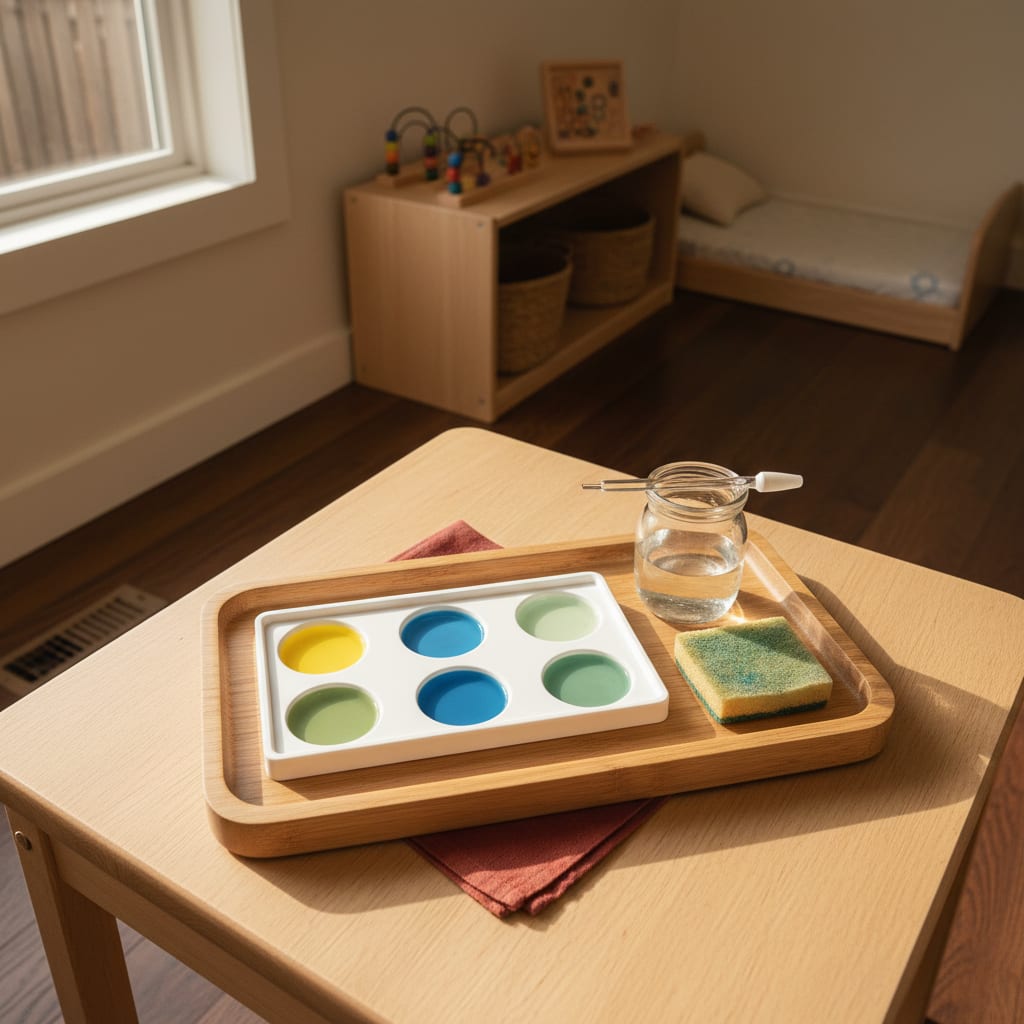
The natural adult instinct is to store like with like — all pitchers together, all cloths together. Resist it. A child can’t assemble “pouring work” from three locations; they can carry one tray. Each practical life activity lives as a kit: the pouring tray holds two small pitchers and a sponge; the window-washing basket holds spray bottle, squeegee and cloth. If two activities need scissors, get two scissors. Duplication is cheaper than dependence.
2. One tray, complete, always ready
A tray is only trustworthy if it’s always ready. The reset is part of the child’s cleanup (“refill the pitcher, hang the cloth”), but you do a nightly thirty-second audit — beans low, sponge grim, cloth missing — because a child who opens an incomplete tray learns the shelf can’t be trusted, and stops choosing from it. Same rule the classroom runs, and it costs less time than the whining it prevents.
3. Keep the working shelf small and rotate the rest
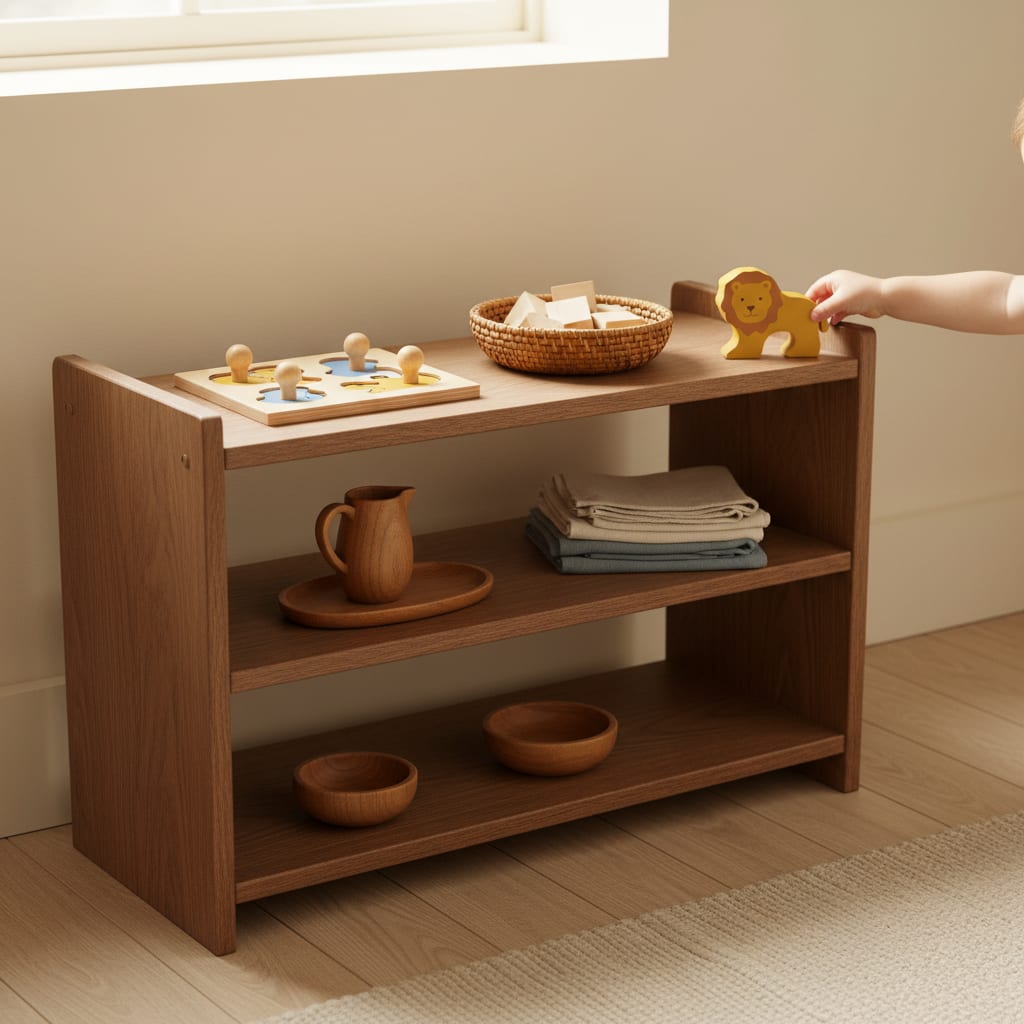
Three or four practical life works out at a time is plenty; the rest of the kit lives in a closed cupboard and rotates in when interest fades, exactly like the toy shelf. Seasonal works (bulb planting, flower arranging) come out when their season does. A shelf with every possible work on it is just a very educational pile.
4. Portion the consumables small
The mess ceiling is set at setup time, not cleanup time. An inch of water in the pitcher, a scoop of beans in the jar, three squirts’ worth of polish decanted into a tiny bottle. Small portions mean a total spill is a sponge job, not a mop job — which means you stay calm, which means the child gets to keep doing the work. Refilling tiny containers weekly is the tax; pay it happily.
5. Put cleanup inside every tray
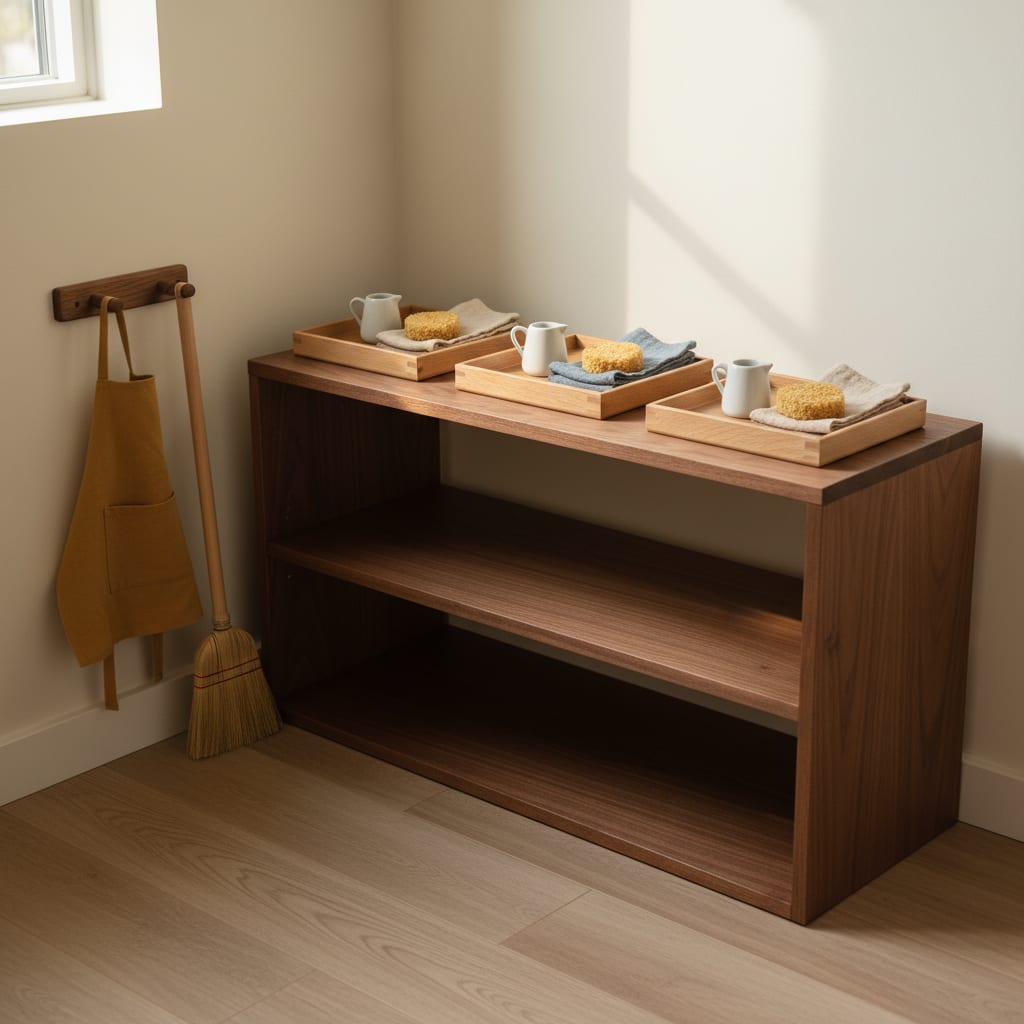
Every kit includes its own recovery: a sponge or cloth sized for the tray, a small dustpan clipped near the dry-pouring shelf. If cleanup supplies live across the room, cleanup is a separate errand a toddler won’t run. If they’re on the tray, the wipe-up is simply the last step of the work — and honestly the step my 18-month-old likes best.
6. Store child tools at child height — real ones
The apron hook the child can reach, the broom that actually sweeps, the pitcher that actually pours but is small enough for small hands. Real, working, child-sized tools are the whole game; a toy broom teaches that sweeping is pretend. Decent child-size tool sets run roughly $15–40, and secondhand cafe-style creamers make the best pitchers I’ve found. For what belongs in the kitchen zone specifically — stool, low cupboard, self-serve shelf — How We Montessori has photographed more real setups than anyone, and Montessori in Real Life shows the toddler versions honestly, spills included.
7. Give water work a spill zone
Anything wet lives near the sink, on a washable floor, ideally over a towel-drawer the child can raid. Wet works on carpet is how practical life gets banned in a house. The bathroom’s version of this zone — the handwashing setup, the toilet-learning station — follows the same logic, and I’ve written up that room’s arrangement separately.
8. Audit monthly, and let works graduate
Once a work is mastered and boring, it stops earning shelf space — the pouring tray graduates to real breakfast-juice pouring, the dry transfer graduates to baking. Practical life supplies aren’t a permanent collection; they’re scaffolding, and scaffolding comes down. The monthly audit question is not “is this Montessori?” but “has anyone touched this since the last audit?” I’m the person who set up the shelves, not the person with the diploma — but on this one point every certified guide I’ve worked with agrees: the shelf reflects the child you have this month, not the curriculum. For the deeper doctrine on practical life’s purpose, Trillium Montessori writes from actual classroom training and is where I send people who want the why behind the trays.
FAQ: organizing practical life supplies
What do I store practical life materials in?
Trays with a lip for anything wet or rolly, shallow baskets for cloth-based work, small jars and creamers for pouring. Charity shops are the best supply source going — mismatched trays are fine, since the child reads each tray as one work anyway.
How many practical life activities should be out at once?
Three or four, matched to current obsessions, rotated when interest fades. A smaller working set gets deeper use — the same rotation logic as toys, and it keeps your reset time to minutes.
Where do you keep it all in a small home?
The working trays claim one low shelf or one kitchen cupboard; everything else compresses into a single lidded bin in rotation storage. Practical life is the least space-hungry part of Montessori because most of the “materials” are just your house, scaled down.
Do I need to buy special Montessori-branded supplies?
No — and be wary of anything sold as “Montessori-certified,” since no such product certification exists. You need small, real, working versions of household tools. The brand matters far less than whether the pitcher pours without dribbling.